Here’s how you can disable invite links in a Discord server:
Open Discord: Open the Discord desktop application or go to the Discord web version at Discord and log in to your account.
Select the Server: Navigate to the server where you want to disable invite links.
Access Server Settings:
- Look at the server name’s right side, find the little arrow, and click it. This will show a menu that drops down.
- From the menu, select “Server Settings.”
Manage Permissions:
- Select the “Roles” tab on the left in the Server Settings.
- Click on the role for which you want to disable invite links. This could be the default “@everyone” role or a custom role.
Edit Permissions:
- Scroll down to the “General Permissions” section.
- Find the “Create Instant Invite” permission.
- Toggle this permission off to prevent members with that role from creating invite links.
Save Changes:
- After making the changes, be sure to click the “Save Changes” button.
Understanding the Role of Invite Links on Discord
Invite links on Discord serve as virtual keys, granting access to specific servers. They simplify the process of inviting new members by providing a clickable URL that, when accessed, instantly adds the user to the designated server.
These links are dynamic and can be set to expire after a certain period of use, offering flexibility in controlling server access.
How Invite Links Work:
- Instant Access: Clicking on an invite link instantly connects the user to the server, simplifying the onboarding process.
- Customization: Server owners can customize invite links, specifying details such as the number of uses, expiration time, and whether the link grants temporary or permanent membership.
- Roles and Permissions: Invite links can carry information about roles and permissions, determining the user’s initial status within the server.
- Revocable Access: Server owners have the ability to revoke invite links at any time, controlling the flow of new members to the server.
Discussion on Potential Security Risks:
While invite links are a convenient feature for server growth, they also pose potential security risks if not managed carefully:
- Unauthorized Access: Unrestricted creation of invite links can lead to unauthorized individuals gaining entry to the server, compromising its integrity and potentially causing disruptions.
- Spam and Trolling: Malicious users may exploit open invite links to flood the server with spam or engage in trolling behavior, negatively impacting the community atmosphere.
- Data Security: Inadvertently sharing invite links in public spaces could expose the server to data breaches, especially if sensitive information is discussed within.
- Malware and Phishing: Unchecked invite links may be used to distribute malware or lead users to phishing sites, putting members at risk of security threats.
- Server Overload: Rapid, uncontrolled growth due to open invite links may strain server resources, affecting performance and user experience.
To mitigate these risks, server administrators should implement measures to regulate who can create invite links, where they can be shared, and under what conditions.
Managing Existing Invites: Step-by-step guide
Here’s a step-by-step guide on managing existing invite links in a Discord server, with an emphasis on the importance of regularly reviewing and managing active invites:
Step 1: Open Server Settings
- Open Discord and navigate to the server for which you want to manage invite links.
- Click on the server name at the top of the channel list to open the server menu.
- Choose “Server Settings” from the menu that dropped down.
Step 2: Access Invite Settings
Select the “Invites” option from the left sidebar in the server settings.
Step 3: View Existing Invites
- You’ll see a list of existing invite links that have been created for your server.
- Take note of the details, such as the number of uses, expiration time, and creation date.
Step 4: Review Invite Permissions
- Click on the specific invite link you want to review or revoke.
- Pay attention to the permissions granted by that invite link, such as whether it provides temporary membership or has a specific role associated with it.
Step 5: Modify Invite Link (Optional)
If you want to modify the settings of a specific invite link, look for options to adjust settings such as expiration time, maximum uses, or role permissions.
Step 6: Revoke or Delete the Invite Link
- Find an option like “Revoke” or “Delete.” Click on it to make the invite link invalid.
- Confirm any prompts that ask if you’re sure you want to revoke the invite.
Step 7: Regularly Review and Manage Invites
- Periodically go through the list of existing invite links in your server settings.
- Revoke any links that are no longer needed or should be expired.
- Consider setting expiration dates or a limited number of uses for temporary invite links.
- Educate your server members about the importance of not sharing invite links without proper authorization.
Note:
Security: It’s important to regularly check and handle invite links to keep your server safe and intact. Links that aren’t used or unnecessary might be risky and misused.
Privacy: Ensure that invite links are shared only with trusted individuals and that they have appropriate permissions to maintain the privacy of your server.
Communication: If you change invite links, communicate these changes with your server members to avoid confusion.
Permissions and Roles
In Discord, the ability to create invite links is often tied to specific permissions granted through roles.
By adjusting roles and permissions, you can control who has the ability to generate invite links on your server. Here’s a step-by-step guide on how to connect permissions with the creation of invite links:
Step 1: Open Server Settings
- Open Discord and navigate to the server for which you want to manage invite link creation.
- Click on the server name at the top of the channel list to open the server menu.
- Choose “Server Settings” from the menu that drops down.
Step 2: Access Roles Settings
Select the “Roles” option from the left sidebar in the server settings.
Step 3: Review Roles
- You’ll see a list of existing roles on your server.
- Identify the roles that should have permission to create invite links. Typically, this permission is associated with the “Create Instant Invite” permission.
Step 4: Modify Role Permissions
- Click on the role that you want to adjust.
- Look for the “Create Instant Invite” permission. Ensure that it is enabled if you want members with this role to be able to generate invite links.
- Save the changes.
Step 5: Create a New Role (Optional)
- If you want to create a new role specifically for users who should have the ability to create invite links, you can do so by clicking the “+” button under the “Roles” section.
- Customize the permissions for the new role, ensuring that “Create Instant Invite” is enabled.
- Assign this role to users who should have the ability to generate invite links.
Step 6: Assign Roles
- Navigate to the “Members” tab in the server settings.
- Find the member you want to assign a role to, click on the “+” button next to their name, and assign the appropriate role.
Step 7: Test Permissions
- After adjusting roles and permissions, it’s a good practice to test whether the changes have taken effect.
- Ask a member with the designated role to try creating an invite link.
Note:
Hierarchy: Keep in mind that role hierarchy matters. If a user has multiple roles, the permissions from the highest role in the hierarchy will apply.
Review Regularly: Regularly review and update role permissions to ensure they align with your server’s needs. Remove unnecessary permissions to maintain security.
Educate Members: Ensure your server members know the permissions associated with different roles and the significance of not sharing invite links without proper authorization.
Verification Level Impact
Discord server verification levels play a crucial role in controlling the level of access and security within a server.
Verification levels affect various aspects, including invite link creation and who can join the server.
Here’s an explanation of how server verification levels can influence invite link creation, along with guidance on adjusting them for enhanced security:
1. Verification Levels:
- Discord offers four verification levels for servers:
- None: No special restrictions. Anyone with an invite link can join.
- Low: To be a member, it is required that individuals possess a confirmed email linked to their Discord account, ensuring a level of verification for communication within the platform.
- This measure enhances security and trust by validating the authenticity of members’ accounts through verified email addresses.
- Medium: Members must meet the “Low” requirement and have been a server member for at least 5 minutes.
- High: To join, members must meet the “Medium” rule and have a confirmed phone number on their Discord account.
2. Impact on Invite Link Creation:
- Note: Anyone with the invite link can join without any additional requirements.
- Low: Users need a verified email on their Discord account to join using an invite link.
- Medium: Users must meet the “Low” requirement and have been on the server for at least 5 minutes.
- High: To sign up, users have to meet the “Medium” rule and also confirm their phone number on their Discord account.
3. Adjusting Server Verification Levels for Enhanced Security:
a. Open Server Settings:
- Open Discord and go to the server for which you want to adjust the verification level.
- Click on the server name at the top to open the server menu.
- Select “Server Settings.”
b. Adjust Verification Level:
- In the server settings, select the “Moderation” tab.
- Find the “Verification Level” option.
- Choose the verification level that aligns with your security preferences.
c. Considerations:
- Low to Medium: If you want a balance between openness and some level of restriction, you might choose the “Medium” verification level. It helps prevent spam or abuse by requiring users to be on the server for a short duration.
- Medium to High: If your server requires a higher level of security, especially to prevent bot or spam attacks, you can set the verification level to “High.”
4. Educate Members:
- Clearly communicate any changes in verification levels to your server members.
- Explain the reasons behind the changes and the importance of complying with the server’s security measures.
5. Test Invites:
After adjusting the verification level, tests invite links to ensure they function as expected and that users are required to meet the specified verification criteria.
Note:
- Balancing Security and Accessibility: While higher verification levels enhance security, they may also limit accessibility. Consider your server’s purpose and community dynamics when choosing a verification level.
- Periodic Review: Regularly review and adjust server settings, including verification levels, based on the evolving needs of your community.
Best Practices for Secure Discord Servers
Maintaining a secure Discord server environment is crucial to protect your community and its members.
Here are some best practices for securing Discord servers, along with suggestions for regular security audits and monitoring: Best Practices for Secure Discord Servers:
Role-Based Permissions:
Utilize Discord’s role-based permission system to control users’ actions within the server. Regularly review and update roles and permissions.
Verification Levels:
Set appropriate verification levels based on your server’s needs. Consider requiring email verification or phone verification for added security.
Invite Link Management:
Regularly review and manage existing invite links. Revoke unnecessary or expired links to prevent unauthorized access.
Audit Log Monitoring:
Enable Discord’s audit log feature to monitor changes made to the server, including role assignments, channel creations, and member joins/leaves.
Two-Factor Authentication (2FA):
Encourage all server staff and administrators to enable 2FA on their Discord accounts for an extra layer of security.
Bot Permissions:
Be cautious about the permissions granted to bots. Only authorize essential permissions for the smooth functioning of the bot and avoid unnecessary privileges.
Community Guidelines:
Clearly define and communicate community guidelines. Encourage members to report suspicious activities and enforce moderation policies consistently.
Server Moderation:
Have a clear and transparent moderation system. Train your moderators on community guidelines and ensure that moderation actions are fair and consistent.
Regular Backups:
- Regularly backup important server data, including channel content and member data. In case of any issues, having backups ensures data recovery.
- Suggestions for Regular Security Audits and Monitoring:
Audit Logs Review:
Review the server’s audit logs periodically to check for any unusual activities, such as unauthorized role changes or mass kicks/bans.
User Activity Monitoring:
Keep an eye on user activity, especially in high-traffic channels. Monitor for spam, phishing attempts, or any other malicious behavior.
Bot Reviews:
Regularly review the permissions and activities of bots in your server. Ensure that bots are still serving their intended purpose and haven’t been compromised.
Invite Link Audit:
Conduct periodic audits of invite links. Revoke any links that are no longer needed or are potentially compromised.
FAQs
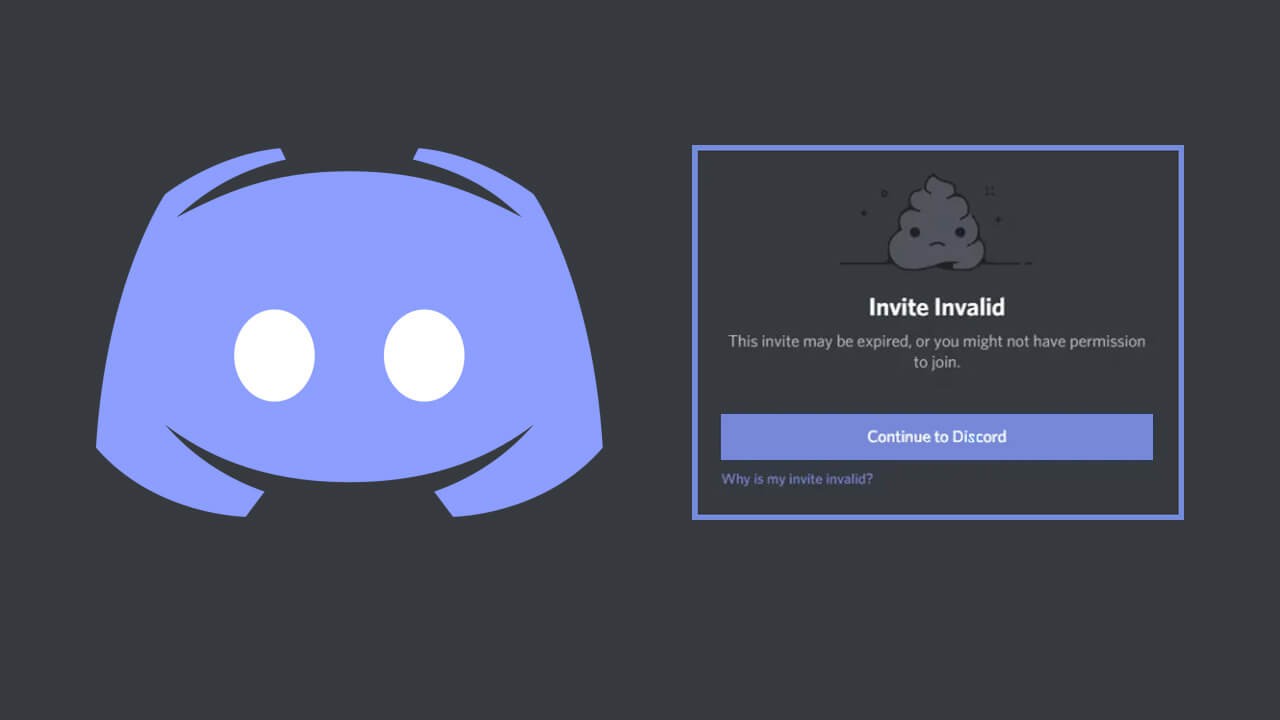
How can I disable invite links in my Discord server?
Server owners and administrators can disable invite links by adjusting the server settings. Go to Server Settings > Invites and toggle off the “Create Instant Invite” permission for specific roles or channels.
Can I disable invite links for a specific channel only?
Yes, you can customize permissions for individual channels. Navigate to the channel settings, go to Permissions, and adjust the “Create Instant Invite” permission for the desired roles.
Are there any global settings to disable invite links for the entire server?
Yes, You can change invite link settings for the whole server in Server Settings > Invites. Server owners can control permissions to limit the creation of instant invites.
Can I prevent users from generating invite links for my server?
Yes, by adjusting the “Create Instant Invite” permission in the server or channel settings, you can prevent users from generating invite links.
How do I restrict invite link creation to specific roles?
In the server settings, under Roles, find the role you want to restrict. Disable the “Create Instant Invite” permission for that role.
Is there a way to allow invite links for some channels but not others?
Yes, by customizing channel permissions. Navigate to the channel settings, go to Permissions, and adjust the “Create Instant Invite” permission accordingly.
Can server members still join using other methods if invite links are disabled?
Members can still join using alternative methods, such as direct invitations or by being manually added by a server administrator, even if invite links are disabled.
How do I revoke existing invite links?
Navigate to Server Settings > Invites, and under the “Instant Invites” section, you can view and manage existing invite links. Click on “Revoke” next to the link you want to disable.
Is there an audit log for invite link creation?
Yes, Discord provides an audit log that tracks various server events, including creating and deleting invite links. Server administrators can review this log for details.
Can I set a time limit on invite links to automatically expire?
Yes, when creating an invite link, you can set an expiration time. Once the specified time elapses, the link becomes invalid, providing an additional layer of control.
Are there any third-party bots that can help manage invite links?
Yes, several Discord bots offer features for managing invite links, allowing server owners to customize settings, track usage, and implement additional security measures.
Conclusion
In conclusion, maintaining a secure Discord server involves a combination of proactive measures and regular audits.
Server administrators can create a safer environment by implementing role-based permissions, setting appropriate verification levels, managing invite links, and conducting periodic security reviews.
Ongoing monitoring, user education, and a responsive approach to potential security incidents further contribute to the overall security posture.
Regular communication, staff training, and staying updated on software patches are essential components of a robust security strategy for Discord servers.